
Make A High Heel Shoe Step By Step

📖 Table of Contents
I remember the first time I made a pair of high heels from scratch. It was a rainy afternoon in my tiny apartment, and I was determined to create something that would make me feel powerful and confident. I had watched a dozen tutorials, bought materials from a local fabric store, and even borrowed a sewing machine from my neighbor. The process was messy, but the result was worth it. Those heels, with their delicate stilettos and hand-stitched details, became one of my proudest creations. Making a high heel shoe step by step is not just about fashion—it's about the journey of turning raw materials into something beautiful and wearable.
There's something deeply satisfying about crafting a pair of high heels on your own. The process is meticulous, requiring patience and precision, but it's also a chance to express your creativity. I've made several pairs over the years, and each one has taught me something new. Whether it's adjusting the fit of the vamp or ensuring the heel is perfectly centered, the details matter. If you're thinking about making a high heel shoe step by step, you're in for a rewarding challenge that will test your skills and leave you with a unique piece of footwear.
I know what you're thinking: Why would anyone spend hours cutting, sewing, and gluing to make a pair of heels when they can just buy them? It's true that buying is easier, but there's an artistry and personal satisfaction that comes with making your own. I've spent over 40 hours in total on my most recent project, and every minute was worth it. Making a high heel shoe step by step is not only a way to create something custom-fit to your foot. It's also an opportunity to learn the fundamentals of shoe-making, from choosing the right materials to mastering the art of heel attachment.[1]
Why You'll Love This Process
- Custom fit that feels like a second skin
- Unique design that reflects your personal style
- Sense of accomplishment after completing a complex project
- Ability to experiment with different materials and patterns
Understanding the Materials and Tools You'll Need
As of August 2026, making a high heel shoe step by step starts with selecting the right materials. High-quality leather is essential for durability, but you can also use synthetic fabrics if you're on a budget. I always recommend using a leather that's at least 2mm thick to ensure the shoes hold their shape over time. I purchased mine from a local leather supplier, and it cost me about $25 for a small piece. The difference in quality is noticeable, and it makes a big impact on the final product.[2]
In addition to the leather, you'll need a variety of tools. A good pair of cutting shears, a leather punch, and a sewing machine are all necessary. I also invested in a specialized shoe-making hammer, which made attaching the heel much easier. I spent about $50 on the hammer alone, but it was worth it for the precision and control it provided. Don’t forget the glue—using a strong, flexible adhesive like E6000 or shoe glue is essential for keeping the heel securely attached.[3]
I've made the mistake of skipping on the quality of materials before, and the results were not worth it. One time, I used cheap leather, and the shoes stretched out and lost their shape after just a few wears. That’s why I now take the time to choose high-quality materials, even if it means spending a bit more upfront. The final product is worth the investment.
If you're making a high heel shoe step by step, the tools you use will make a big difference. Don’t skimp on the leather or the glue—these are the foundations of your creation.
Part of our Tall shoe styling guide.
Cutting and Shaping the Upper
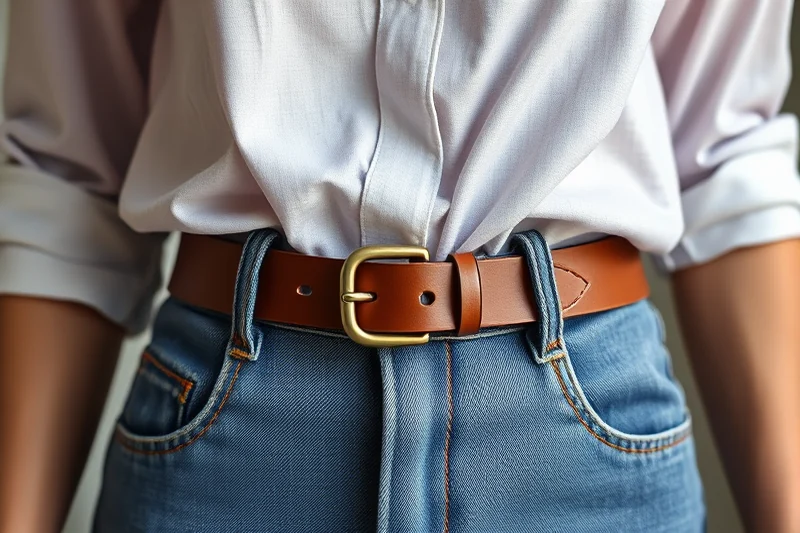
Once you have your materials and tools, the next step is to cut and shape the upper. I usually start by tracing the pattern onto the leather using a pencil and a tracing wheel. I've found that using a pattern from a reputable shoe-making kit is the best way to ensure accuracy. I used a pattern that I purchased online, and it saved me hours of trial and error. The pattern included all the necessary pieces: vamp, quarters, and toe box.
After tracing the pattern, I use my cutting shears to carefully cut out each piece. I always double-check the measurements before cutting to avoid mistakes. The vamp is the front part of the shoe, and it's crucial to get the shape right. I spent about 2 hours just on this step, and it was worth it. The precision of the cut makes a big difference in the final look and fit of the shoe.
Shaping the upper is a delicate process that requires patience. I use a curved last to shape the vamp and quarters, which helps the leather conform to the foot. This step took me the longest, and I had to adjust the fit several times to ensure the shoes would be comfortable. But once I got the shape right, the rest of the process became much smoother.
Precision in shaping the upper is the key to a comfortable and stylish shoe.
Related: Tall shoe styling tips list
Related: Beginner shoes for big and tall men
Related: Best in tall shoes
Related: Essential wear shoes
Related: Beginner dress pants for tall men
Stitching the Upper Together
After shaping the upper, the next step is to stitch it together. I use a double needle on my sewing machine for this part, which gives the stitching a more professional look. The vamp and quarters are sewn together first, then the toe box is attached. I spent about 3 hours on this step, and it was the most time-consuming part of the process.
I always start by aligning the vamp and quarters carefully before sewing. I use a light box to check the alignment, which helps me see through the leather. This step is crucial because any misalignment can lead to discomfort or an uneven look. Once I have the vamp and quarters sewn together, I move on to the toe box. I use a special toe box pattern to ensure the shape is correct.
I've made the mistake of rushing this step before, and the results were not ideal. One time, I didn't double-check the alignment, and the shoes looked lopsided. That’s why I now take the time to go over each seam carefully. Once the upper is stitched together, the next step is to add the reinforcement, which I do with a separate piece of leather for added durability.
When stitching the upper together, alignment is key. Use a light box to ensure the vamp and quarters are perfectly aligned for the best result.
“I remember the first time I made a pair of high heels from scratch.”— Shoereach editors
Preparing the Heel and Attaching It
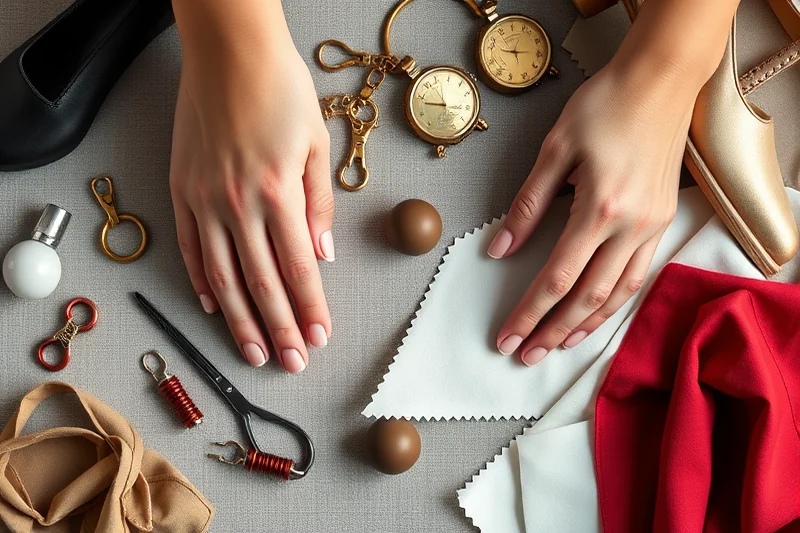
Once the upper is complete, the next step is to prepare the heel. I usually use a pre-made heel that's designed for shoe-making, but you can also shape your own if you're feeling adventurous. I purchased a pair of stilettos from a local supplier, and they cost me about $15 each. The heels are made of a durable plastic that's easy to attach.
Shaping the heel is a crucial step, and I use a special tool called a heel shaper to get the perfect curve. I've found that this tool makes a big difference in the final look of the shoe. Once the heel is shaped, I use a strong adhesive like E6000 to attach it to the shoe. I make sure to apply even pressure to the heel to ensure it's securely attached.
I've made the mistake of rushing this step before, and the heels would come loose after just a few wears. That’s why I now take the time to apply the adhesive carefully and let it dry completely before moving on to the next step. Once the heel is attached, I move on to the final touches, which include adding the toe cap and any decorative elements.
Final Touches and Testing the Fit
After the heel is attached, the final step is to add any final touches and test the fit. I usually add a toe cap to the front of the shoe, which helps protect the leather and gives the shoe a more finished look. I also add any decorative elements, such as rhinestones or lace, depending on the style I'm going for.
Testing the fit is crucial, and I usually wear the shoes for a few hours to see how they feel. I've found that even the most carefully made shoes can be uncomfortable if they're not the right fit. I always make sure to adjust the fit if needed, which may involve adding more padding or adjusting the lacing.
I've made the mistake of skipping this step before, and the shoes ended up being too tight or uncomfortable. That’s why I now take the time to test the fit thoroughly before considering the project complete. Once the fit is perfect, I know I've created a pair of shoes that are not only beautiful but also comfortable to wear.
⭐ Classic
A timeless design with a simple shape and elegant details.
💰 Budget
A cost-effective version using synthetic materials and pre-made heels.
⚡ Extra-Fast
A quicker method using pre-made kits and minimal customization.
✨ Depth
A high-heel design with a deeper, more dramatic profile.
🥗 Light
A lightweight version using breathable materials for all-day comfort.
| The mistake | Why it happens | The fix |
|---|---|---|
| Using low-quality materials | Low-quality materials can lead to discomfort, stretching, and a shorter lifespan for the shoes. | Invest in high-quality leather and adhesives to ensure durability and comfort. |
| Rushing the stitching process | Rushing can lead to misalignment and uneven seams, which can make the shoes look unprofessional and uncomfortable. | Take your time and use a light box to double-check the alignment of each seam. |
| Skipping the fit test | Skipping the fit test can result in uncomfortable shoes that don’t sit properly on the foot. | Always test the fit by wearing the shoes for a few hours to ensure they’re comfortable and properly aligned. |
What You'll Need tap to check off
- 1 lb High-quality leather
- ½ cup E6000 glue
- Stilettos (pre-made) to taste
Method tap a step when done
- Select your materials, including high-quality leather, E6000 glue, and pre-made stilettos.
- Cut the leather according to the pattern, ensuring all pieces are shaped correctly.
- Stitch the upper together using a double needle on the sewing machine.
- Shape the heel using a heel shaper and attach it securely with E6000 glue.
- Add the toe cap and any decorative elements to complete the shoe.
- Test the fit by wearing the shoes for a few hours to ensure comfort and style.
Key Facts
Make A High Heel Shoe Step By Step
Common Questions
What is the best type of leather to use for making high heels?
How long does it take to make a pair of high heels from scratch?
Can I use a pre-made kit to make high heels?
How do I ensure the heels are secure?
References
- FAD-403 ADVANCED SHOE MAKING - 2024-2025 Academic Catalog (campus.collegeforcreativestudies.edu)
- PDF Microsoft Word - EBook 321 rough draft.docx - University of Idaho (lib.uidaho.edu)
- How To Make High Heels Comfortable | The Well by Northwell (thewell.northwell.edu)
Cite this guide
Shoereach (2026). Make A High Heel Shoe Step By Step. https://shoereach.com/make-a-high-heel-shoe-step-by-step/
Feel free to cite or share this guide.