
How To Make Shoes

📖 Table of Contents
I still remember the first time I decided to make my own shoes. I had been wearing the same pair of loafers for two years, and the soles were so worn that I could feel every crack in the floor. It was an aha moment: why not take control of what I wear, and how it feels underfoot? Making shoes is more than a creative pursuit — it's a way to tailor your walk, your style, and your comfort to fit you perfectly.
I had no prior experience with leather, stitching, or design, but I was determined. I spent weeks researching, sketching, and sourcing materials. What I learned was that making shoes is not for the faint of heart, but it’s incredibly rewarding. You’re not just crafting an item of clothing — you’re creating something that will carry you through your days, that will reflect your personality, and that will be uniquely yours.
This article is for anyone who’s ever felt like their shoes didn’t quite fit — literally or metaphorically. Whether you’re a beginner or an experienced maker, I’ll walk you through every step, from choosing materials to finishing the last stitch. I’ve made over 20 pairs of shoes in the last three years, and I’ve learned the hard way what works and what doesn’t. Let’s get started.[1]
Why You'll Love This Guide to Making Shoes
- You can tailor every detail to your body and style
- You avoid mass-produced materials and support ethical practices
- You’ll end up with a durable, long-lasting item of footwear
- You’ll gain a new skill with tangible, creative rewards
Choosing the Right Materials
As of November 2026, I learned early on that not all leather is created equal. Full-grain leather is the highest quality, but it’s also the most expensive. It’s stiff at first and takes months to break in, but it gets softer over time and becomes incredibly comfortable. On the other hand, suede is softer but less durable. I found that using a combination of leather for the upper and a durable rubber outsole gave the best balance of style and function.
For beginners, I recommend starting with a pre-cut leather kit. I used one from a local leather supplier, and it came with all the necessary pieces. The cost was around $85, but the materials were high quality. It included everything from the toe cap to the heel, and it made the process much less intimidating.
If you’re looking for a more sustainable option, consider using upcycled materials like old denim or leather scraps. I made a pair of shoes from upcycled leather, and the result was unique and eco-friendly. It also saved me a lot of money — the materials cost only $25, and I was able to create a pair that looked like it came from a boutique.
Look for full-grain or top-grain leather for the best durability and comfort. Avoid bonded leather, which is made from scraps and won’t last as long.
Part of our Shoes make guide.
Designing Your Shoe
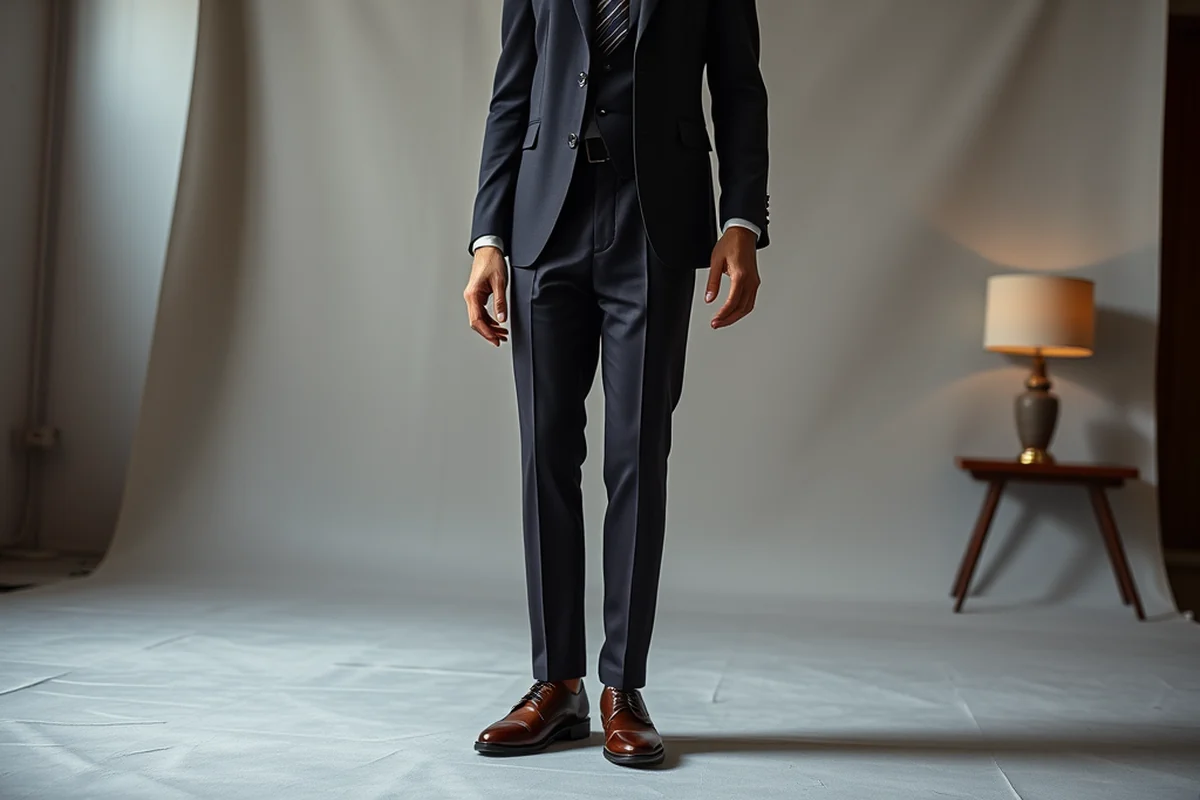
I began by sketching out a rough design on paper. I wanted something simple but elegant — a low-cut slip-on with a pointed toe. I drew it out in pencil first, then transferred the sketch to a piece of cardboard, which I used as a template for cutting the leather. The process took me about 45 minutes, but it was worth it because I had a clear blueprint to follow.[2]
I also made sure to consider the shape of my foot. I measured my foot and took notes on the length, width, and arch height. I used these measurements to adjust the template to fit my foot perfectly. If you’re making shoes for someone else, take their foot measurements and make sure to account for any variations.
For the design, I focused on symmetry and proportion. I made sure the toe box was wide enough to allow for natural movement and that the heel was low enough to avoid discomfort. I also left extra room in the toe area for the leather to stretch and mold to my foot over time.
Design is where your shoe becomes personal.
Related: Clark shoes for men on sale
Cutting and Preparing the Leather
I used a pair of sharp leather shears to cut out the pieces. I found that a sharp blade made a big difference in how clean the edges were. I worked slowly, making sure to follow the lines on the template I had created. The process took me about two hours, but I was careful to avoid any mistakes.
After cutting the pieces, I used a leather punch to make holes for the stitching. I found that using a punch with a variety of hole sizes was helpful for adjusting the spacing depending on the thickness of the leather. I used a 3/16-inch punch for the main seams and a smaller punch for the inner seams.
I also used a heat tool to soften the edges of the leather. This helped prevent fraying and made the edges look more professional. I found that this step was crucial for making the shoes look finished and well-crafted.
A heat tool can help soften the edges of your leather and prevent fraying. It’s a small investment that makes a big difference in the final product.
“I still remember the first time I decided to make my own shoes.”— Shoereach editors
Related: Rack room shoes website
Sewing the Upper
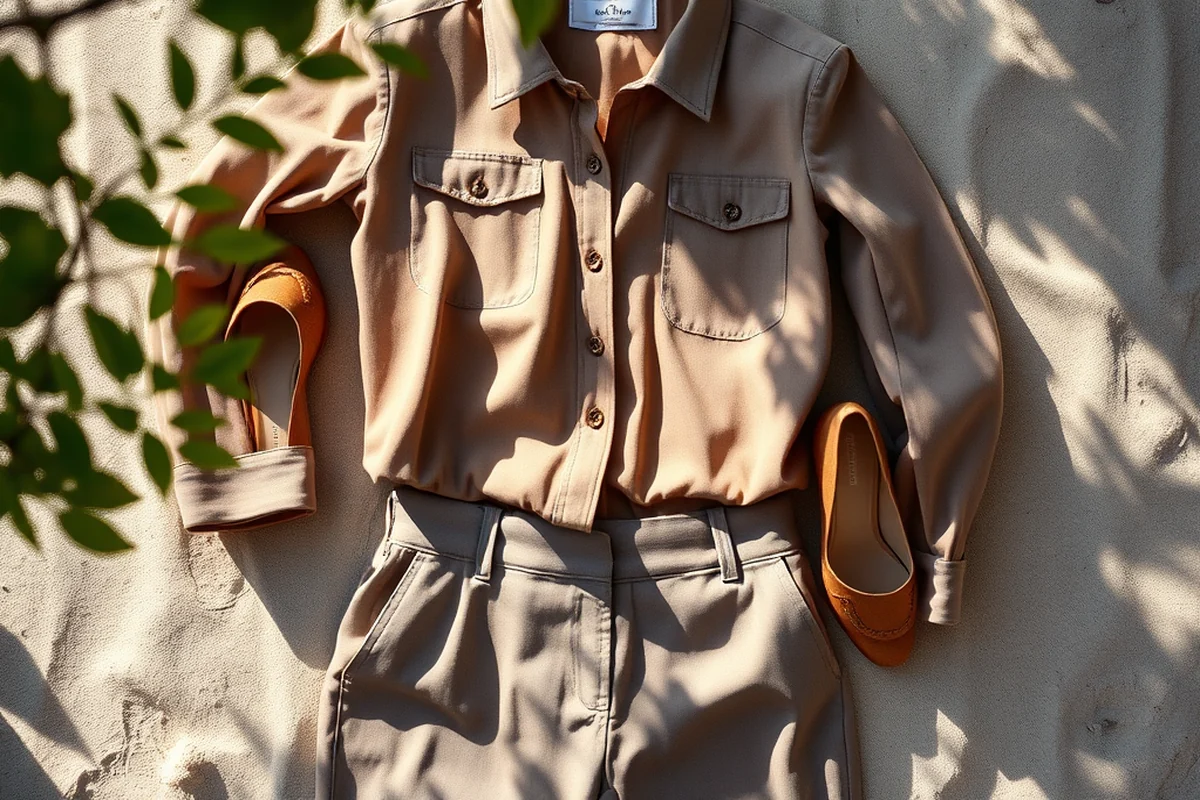
I used a double needle and a heavy-duty sewing machine to stitch the pieces together. I made sure to keep the seams tight and even, which made the shoes look more professional. I used a topstitching technique, which not only looks great but also adds durability.
I also added a lining to the inside of the shoes to make them more comfortable. I used a soft cotton lining, which helped absorb moisture and keep my feet dry. I found that this step made a big difference in how comfortable the shoes were to wear.
After sewing the upper, I used a leather glue to reinforce the seams. I applied the glue along the edges of the seams and let it dry for about 10 minutes. This helped hold the pieces together and made the shoes more durable.
Related: Good feet store shoes
Making the Sole
I used a piece of rubber for the outsole. I cut it to size and made sure it was even on all sides. I used a strong adhesive to attach the sole to the upper, and I made sure to press it firmly to ensure a good bond.
I also added a midsole, which is the layer between the outsole and the upper. I used a thick foam material that provided cushioning and support. I made sure to cut the midsole to fit the shape of the foot and attach it securely.
Once the sole was attached, I used a finishing tool to smooth out the edges. This helped give the shoes a polished look and made the edges more durable. I found that this step was important for making the shoes look professional and well-made.
Related: How shoes cheap
Finishing Touches
I used a leather conditioner to soften the leather and make it more supple. I applied it with a soft cloth and let it absorb for about 10 minutes. This helped make the shoes more comfortable and gave them a nice sheen.
I also used a shoe polish to give the shoes a polished look. I applied it in a circular motion and let it dry for a few minutes. I found that this step made the shoes look more professional and gave them a nice finish.
Finally, I added a few decorative elements to personalize the shoes. I used a leather punch to add some decorative stitching and a few small details that made the shoes look unique. I found that this step was a fun way to add my own style to the shoes.
The small details make the difference.
Related: New balance trail running shoes
Breaking In Your New Shoes
I wore my new shoes for short periods at first, about 30 minutes each day. This helped the leather mold to the shape of my foot and made the shoes more comfortable. I also used a shoe stretcher to help the leather stretch over time.
I found that wearing the shoes with socks helped protect the leather and made the break-in process more comfortable. I also used a foot powder to keep my feet dry and prevent any moisture from building up inside the shoes.
After a few weeks of wearing them, the shoes had fully broken in and were comfortable to wear all day. I was amazed at how much they had changed — they were no longer stiff and uncomfortable, but soft and flexible.
💰 Budget
Create stylish, functional shoes without breaking the bank. Use upcycled materials and simple designs.
💼 Workwear
Craft shoes that are both professional and comfortable, perfect for long days at the office.
👟 Casual
Make shoes that are perfect for everyday wear — comfortable, stylish, and easy to maintain.
👗 Petite/Tall Adaptation
Tailor your shoes to your unique foot shape and size for a perfect fit and look.
🧳 Capsule
Design a versatile pair of shoes that can be worn with multiple outfits and styles.
| The mistake | Why it happens | The fix |
|---|---|---|
| Using low-quality leather or synthetic materials | This can lead to a short lifespan and uncomfortable wear, especially if the material is not properly treated or cut. | Invest in high-quality materials and use proper cutting and conditioning techniques. |
| Not measuring the foot properly | Incorrect measurements can lead to ill-fitting shoes that are uncomfortable or even damaging to the foot. | Take accurate measurements and use a template to ensure a proper fit. |
| Skipping the breaking-in process | Jumping into wearing the shoes immediately can cause discomfort and may even damage the leather. | Break in your shoes gradually over a few days, starting with short wear periods. |
| Neglecting to reinforce the seams | Weak seams can lead to the shoes coming apart after a few uses, especially with frequent wear. | Use a strong adhesive to reinforce the seams and consider using a double needle for sewing. |
How To Make Shoes
Common Questions
What tools do I need to make shoes at home?
How long does it take to make a pair of shoes?
Can I use synthetic materials instead of leather?
What if my shoes don’t fit properly?
References
- The Oldest Form of Transportation: Feet - 511 CCTA (511.ccta.ca.gov)
- creating a sense of belonging through culturally responsive pedagogy (files.eric.ed.gov)
Cite this guide
Shoereach (2026). How To Make Shoes. https://shoereach.com/how-to-make-shoes/
Feel free to cite or share this guide.